Networking & Cabling
How to Terminate a Cat6 Cable with an RJ45 Connector
Key Takeaways
- A Cat6 cable has four twisted wire pairs inside an outer jacket, plus a rip cord and often a plastic spline to keep the pairs separated.
- T568B wiring order is the standard: Orange/White, Orange, Green/White, Blue, Blue/White, Green, Brown/White, Brown.
- Untwisting a pair more than half an inch before the plug invites crosstalk and signal loss.
- A tester that confirms all eight pins map 1-to-1 through 8-to-8 is the only real proof a termination is good.
- Pass-through RJ45 plugs make it easier to see wire order before crimping, which cuts down on redo work.
- If a tester shows an open, short, or crossed pair, the fix is a new termination, not a patch job on the old one.
If a network runs slow or drops connections, the router usually isn’t the problem. A sloppy Cat6 termination is one of the most common causes, and it’s easy to get wrong on a first attempt. Here’s what’s actually inside a Cat6 cable, how to terminate it correctly, and how to test the result before you trust it.
What’s Inside a Cat6 Cable
Strip open a Cat6 cable and you’ll find an outer jacket, a rip cord to help remove that jacket, four twisted wire pairs, and often a plastic spline shaped like an X that holds the pairs apart. Each pair is twisted tightly to cancel out signal noise from the pairs next to it, a problem called crosstalk. That twist is doing real work, which is why it matters how far you undo it during termination.
Cat6 comes in two constructions. Solid-core wire is stiff and holds up well for long runs inside walls. Stranded wire is more flexible and better suited to short patch cords that get moved or flexed. An RJ45 connector is the 8-pin plug that turns raw wire into a working network connection, whether it’s terminating into a plug for a patch cord or a keystone jack for a wall plate or patch panel.
Why Termination Quality Affects Speed
A bad termination lets signal leak or drop, and the effect shows up immediately: dropped calls, laggy connections, files that stall mid-transfer. Untwist a pair too far before the plug, and you reintroduce the crosstalk problem that twist was designed to prevent in the first place.
T568A and T568B are both valid wiring standards; the only rule that matters is picking one and using it consistently across the whole job. T568B is the more common choice in commercial networks. A loose or off-angle pin, a plug that wiggles after crimping, or wires that don’t sit flush against the front of the connector are all signs of a bad crimp that needs to be cut off and redone, not patched.
Terminating a Cat6 Cable, Step by Step
You’ll need a cable stripper, a crimper, flush cutters, and RJ45 plugs.
- Strip the jacket. Remove 1 to 1.5 inches of outer jacket, gently enough not to nick the wires underneath.
- Prep the wires. Cut away the rip cord and any spline, then untwist and straighten each of the four pairs.
- Arrange the wires in T568B order. Left to right: Orange/White, Orange, Green/White, Blue, Blue/White, Green, Brown/White, Brown. That’s pins 1 through 8.
- Flatten and align. Keep the wires flat, not stacked, and trim the ends so they’re even.
- Insert into the plug. Slide the wires in slowly until each one reaches the front of the plug, with the cable jacket seated under the clamp for strain relief.
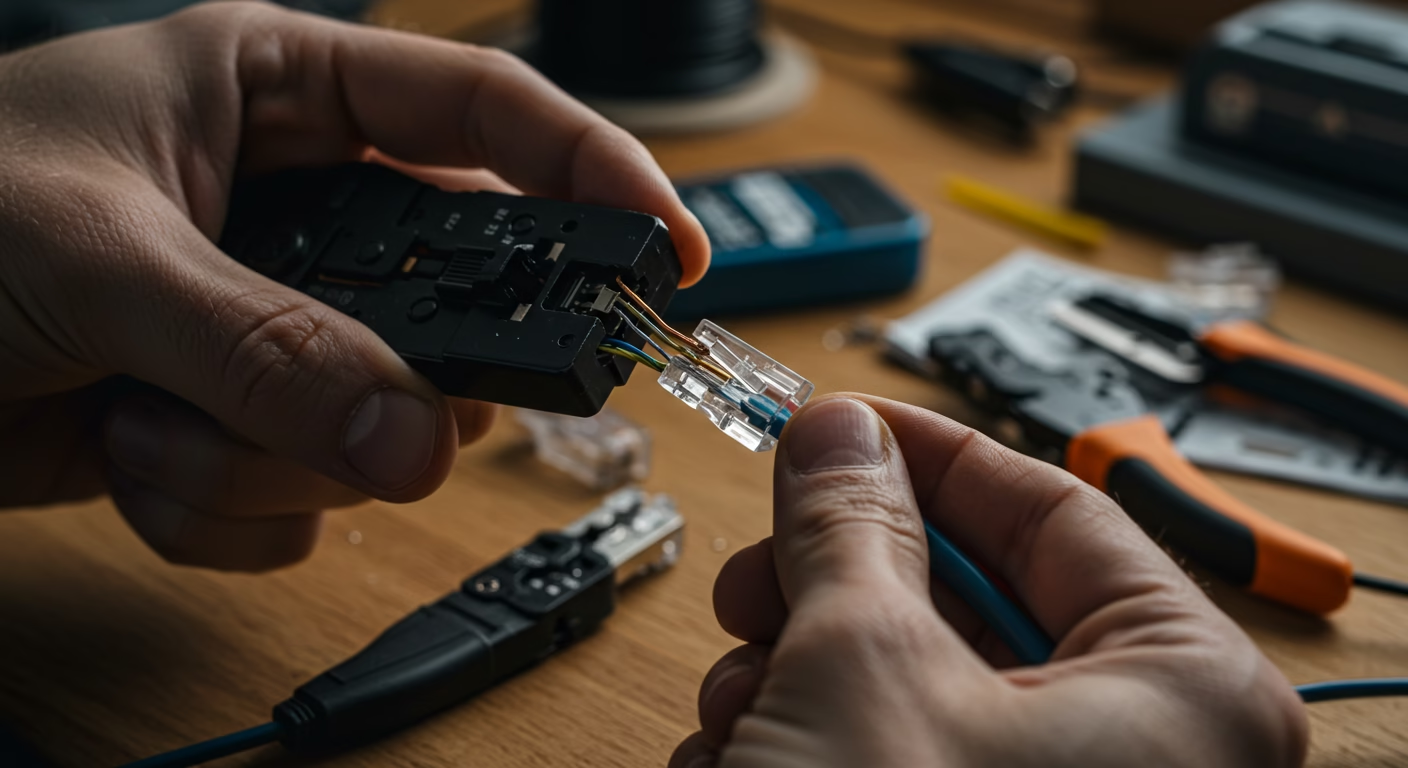
- Crimp. Seat the plug in the crimping tool and squeeze until it clicks, driving each pin into its wire.
Pass-through RJ45 plugs let the wires run all the way through the connector before you trim the excess, which makes it easier to confirm the order is right before you commit to the crimp. They’re a good default for anyone doing more than a handful of terminations.
Testing and Fixing a Termination
Plug both ends into an inline cable tester and watch the sequence: 1-1, 2-2, 3-3, and so on through 8-8. Any of these means a problem:
- Open: a wire isn’t making contact at one or both ends
- Short: two wires are touching when they shouldn’t be
- Crossed pair: the wires are out of order
There’s no reliable fix for a bad termination beyond cutting off the connector and starting over. The most common causes are untwisting the pairs too far back, wires that don’t reach the front of the plug, or a color order that drifted from T568B partway through.
Best Practices That Make Terminations Last
Add a strain relief boot to protect the plug where it meets the cable, and leave a small service loop in the wall or box in case the end ever needs to be redone. Use velcro instead of zip ties for cable management. A zip tie pulled too tight can squeeze a fresh crimp enough to affect the signal inside it. Finish every job with a tug test: if the jacket pulls loose from the plug, the termination isn’t done yet.
This covers a single Cat6 patch cord or drop. Running and terminating drops across a whole office is a bigger job, and pricing scales differently depending on drop count and building type. Our Cat6 installation cost guide for Atlanta breaks down per-drop pricing if that’s the project you’re planning.
If a full office needs cabling, racks, or a network built around it rather than a single cable, that’s the kind of job worth a professional walkthrough. See our network infrastructure services or book a free consultation if you’d rather hand it off than crimp fifty connectors yourself.